Introduction
Again and again we get questions about how to customize an overlay purchased from us, for example to add your name or similar. Basically, this requires the cost-intensive image editing program Photoshop developed by Adobe, since our overlays and design are created with the said program.
In search of a free alternative, with which you can also make changes, we came across the online photo editor "Photopea". How it works and what you need to do it you will learn in this article!
What is Photopea?
Photopea is a free online photo editor with which you can easily open and edit JPEG, PNG, SVG, GIF, PDF, DNG and PSD files. The big advantage is that you don't have to download or buy a program to make changes. You can easily open Photopea in a common browser like Google Chrome, Opera or Firefox and start editing right away.
Adjusting overlays - step by step
Step 1
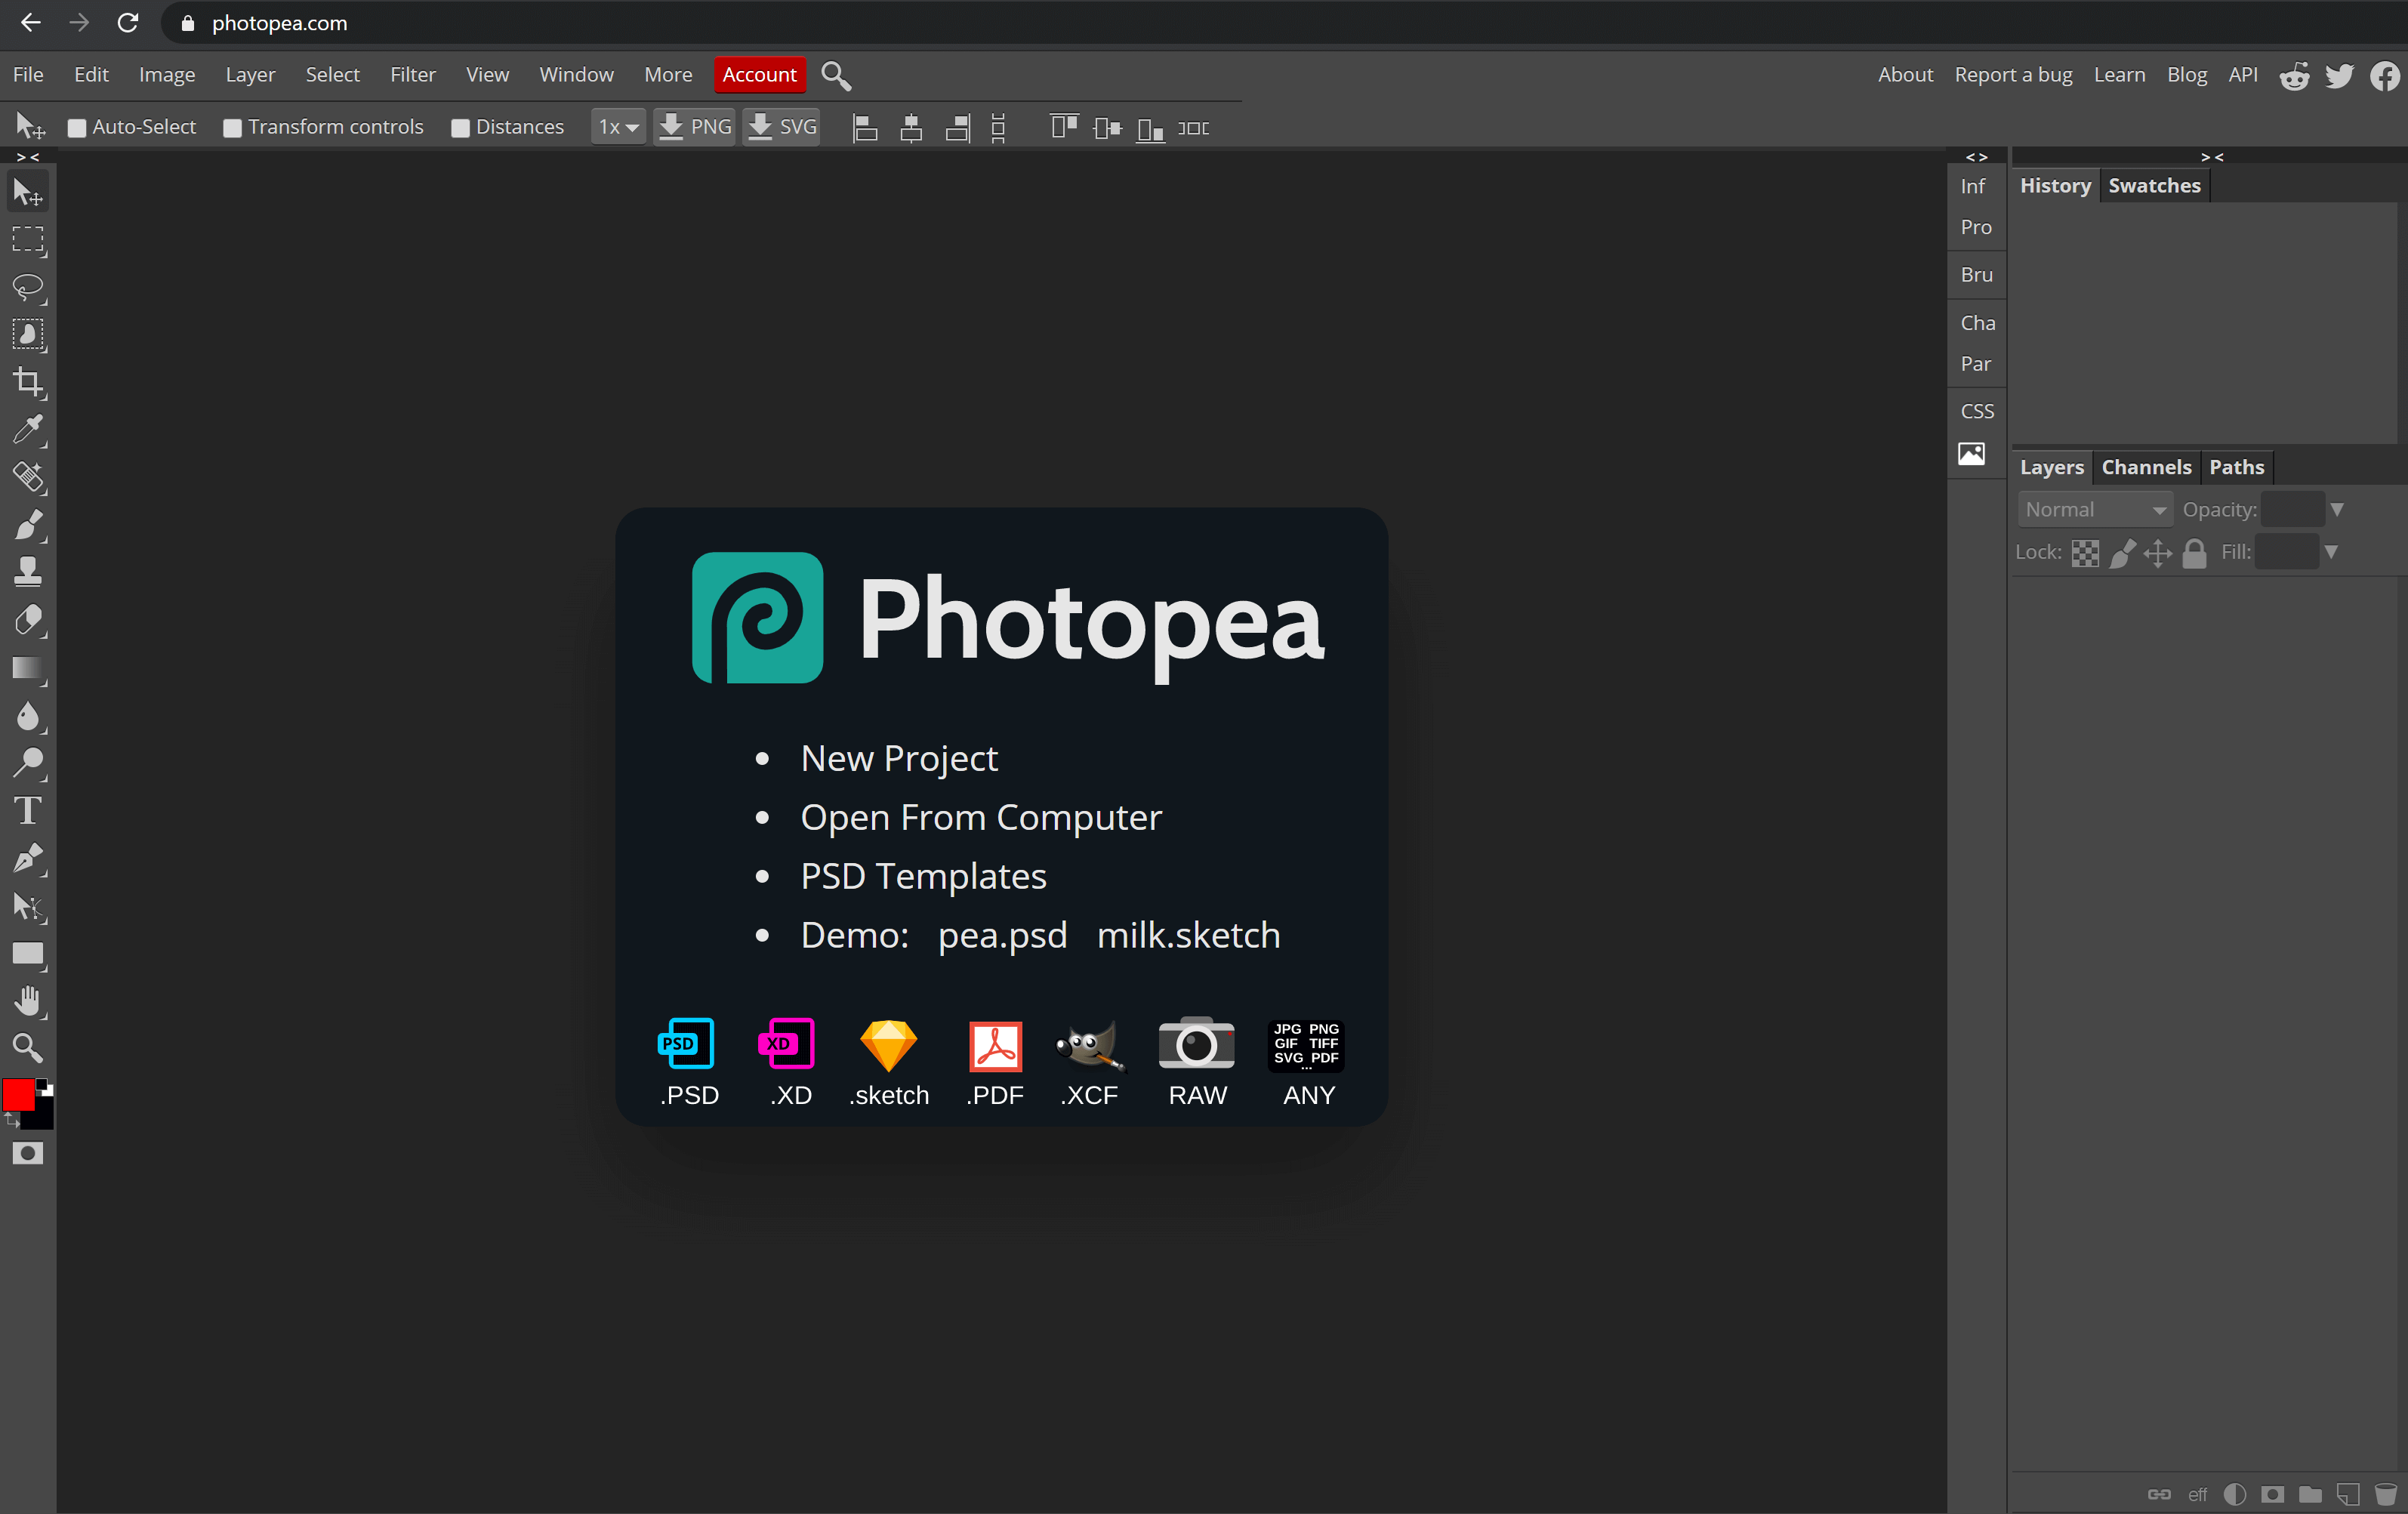
In the first step, open the Photopea website with a common Internet browser such as Google Chrome.
Step 2
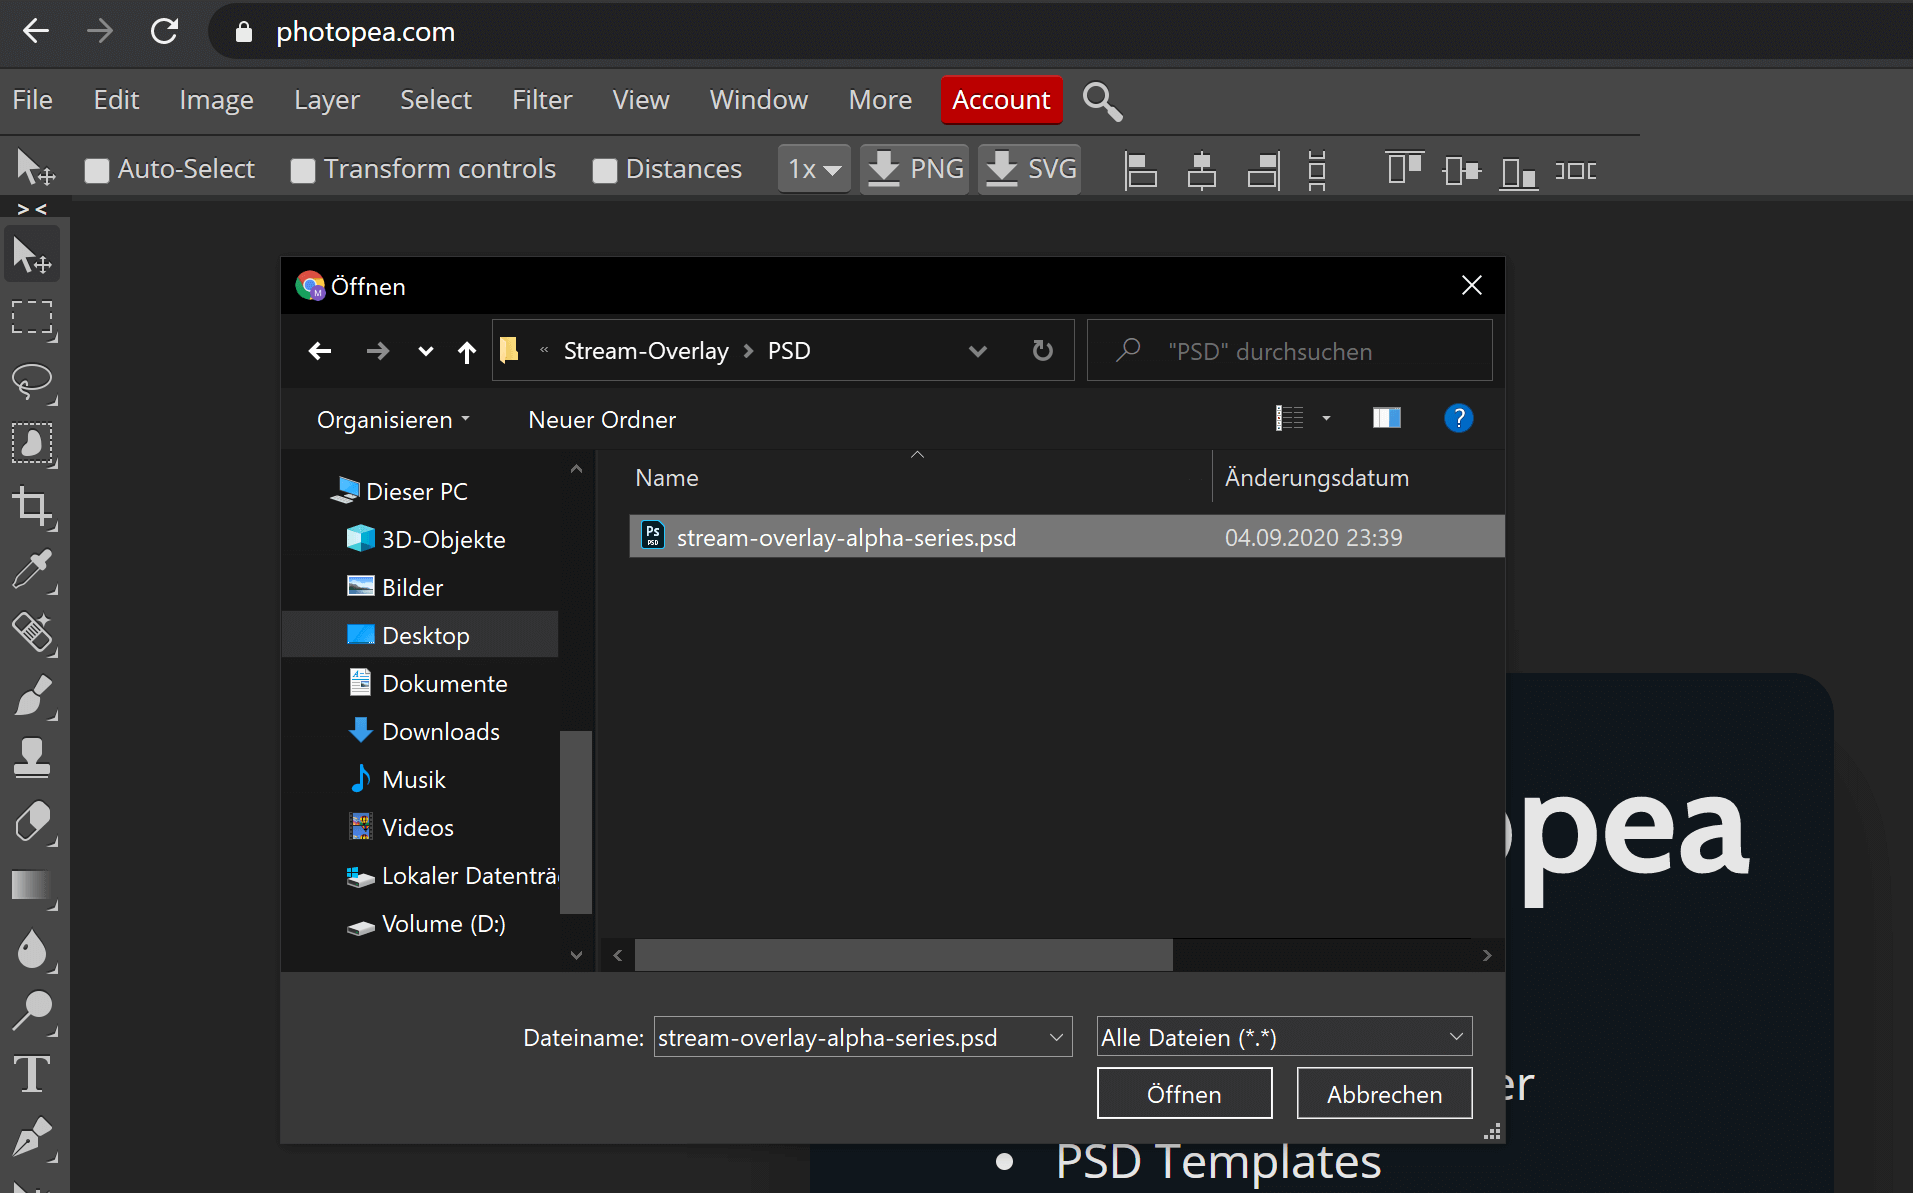
Next, click on "File" at the top and then select "Open". A window will open where you can select the PSD overlay file.
Step 3
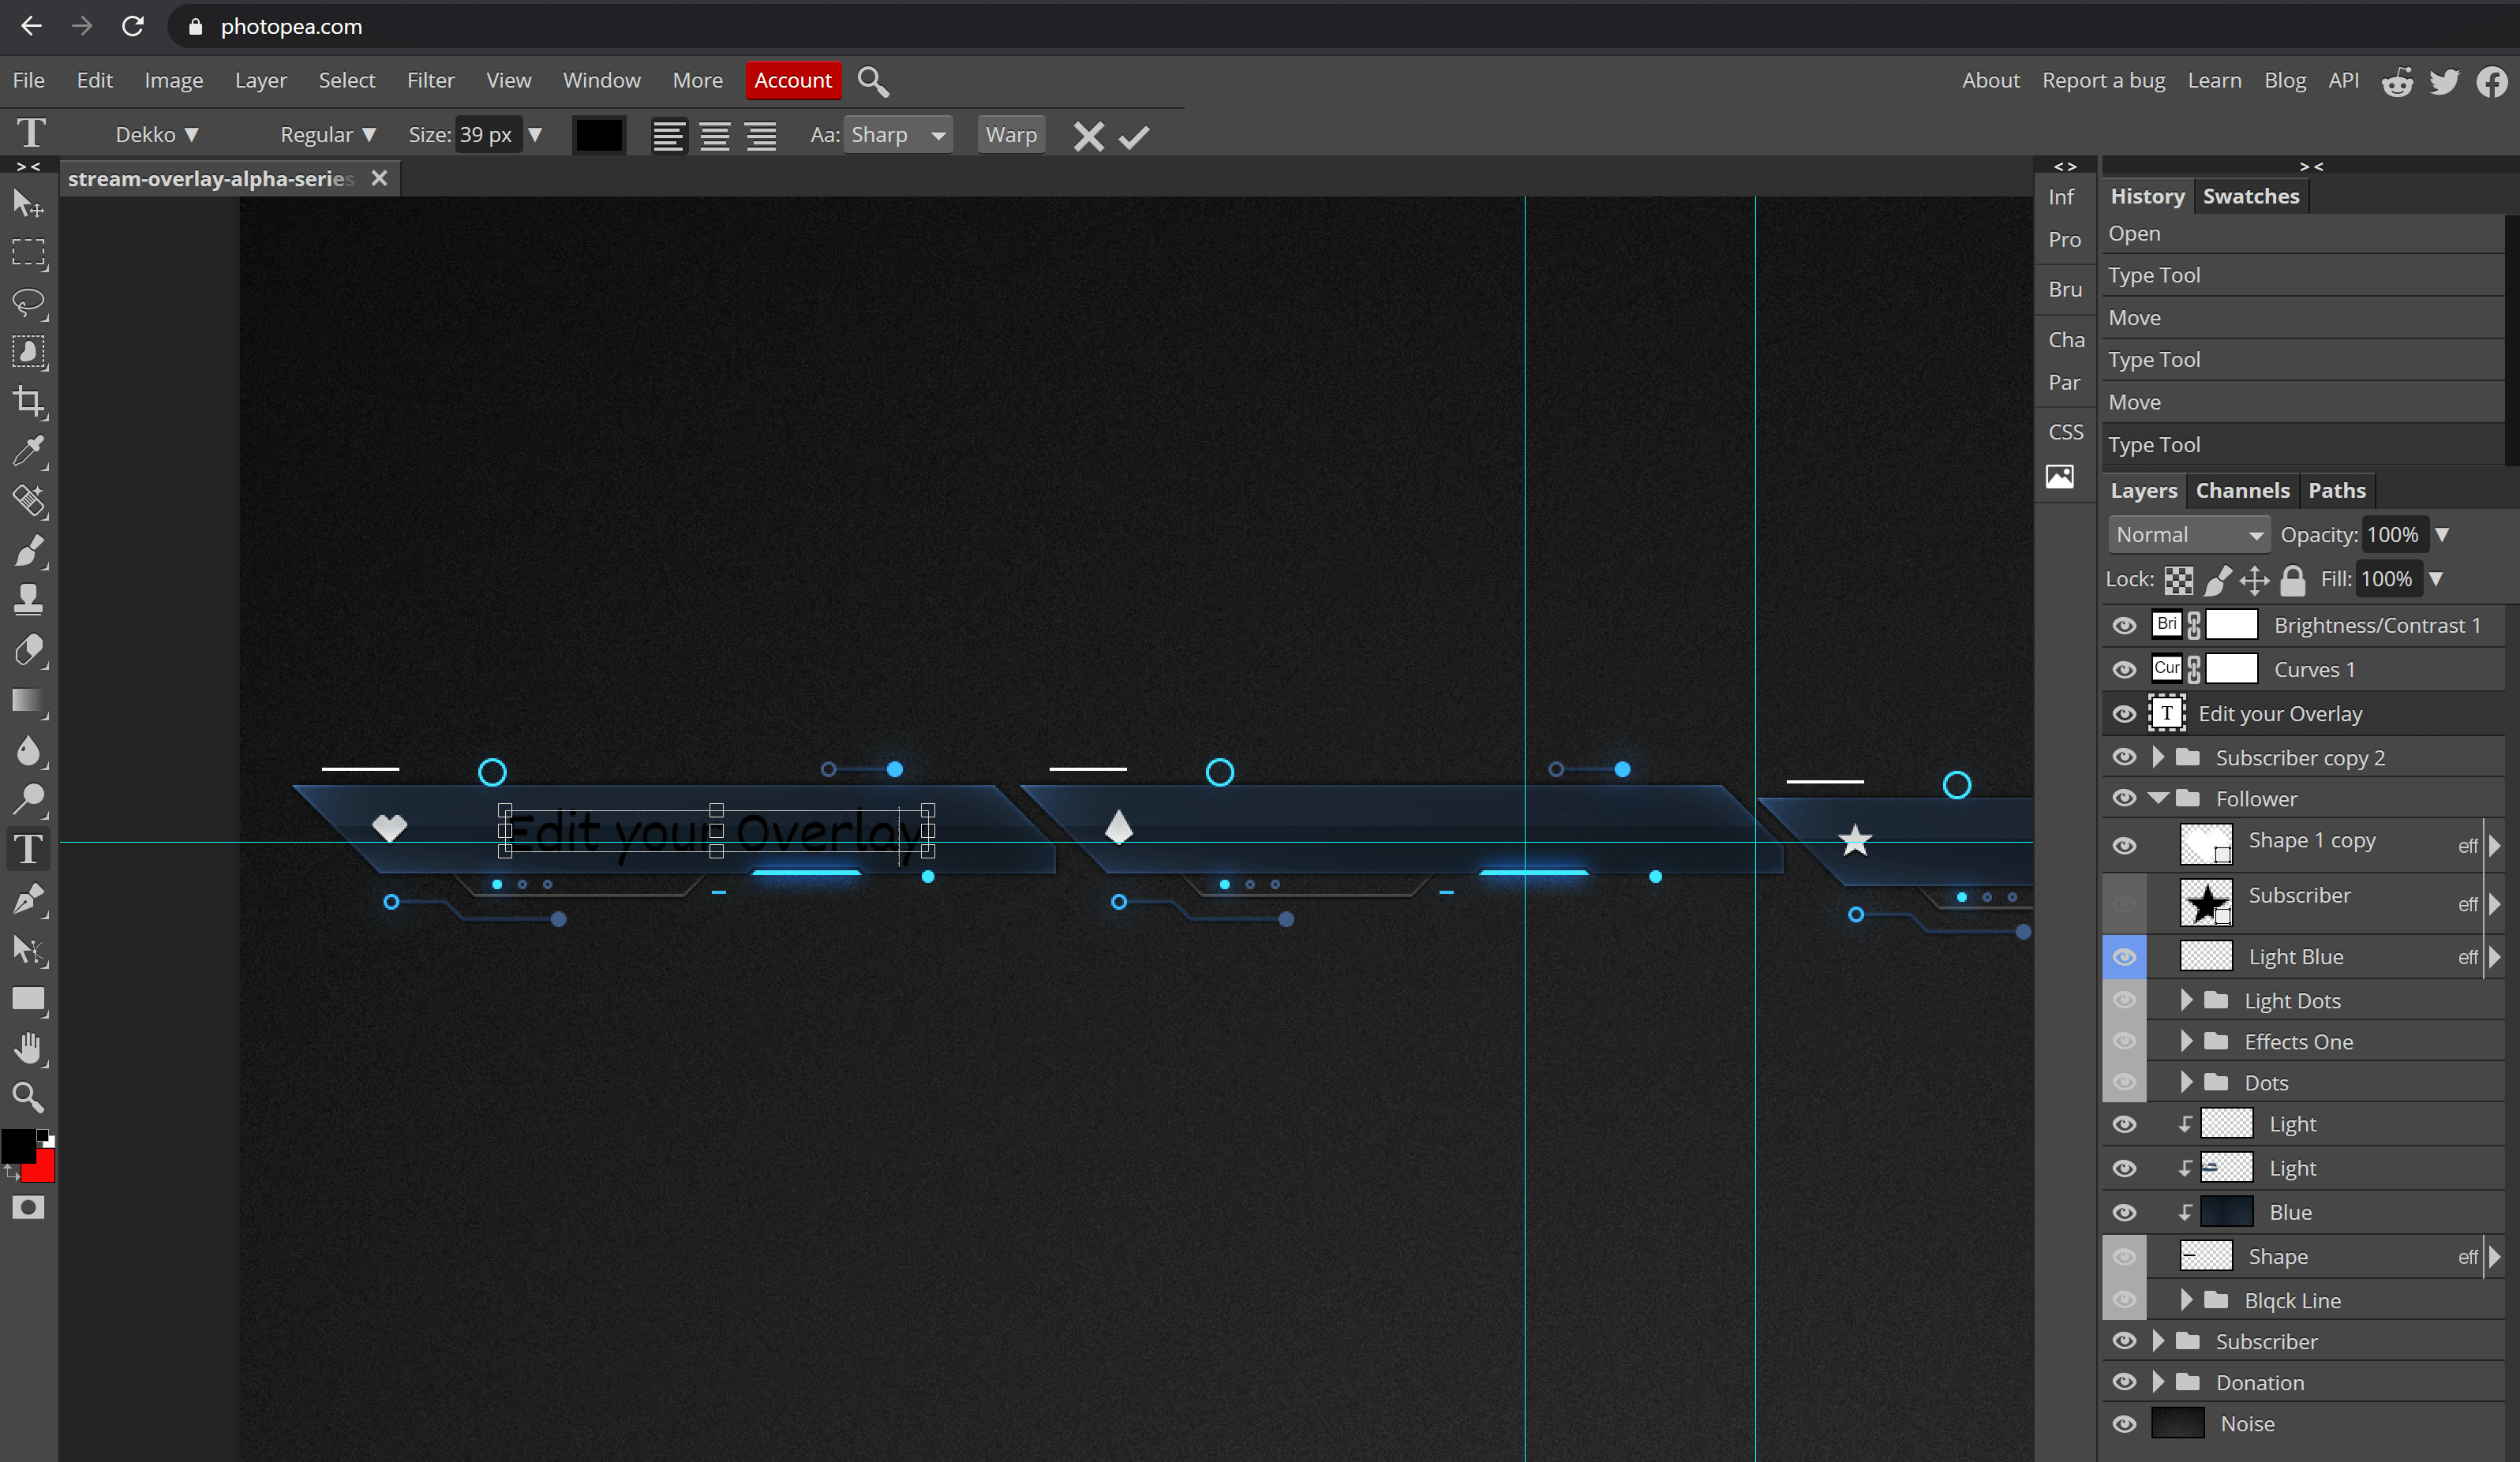
Then click on "Open" and the overlay will be displayed in Photopea. You can now make the desired changes. For example, to add your name, select the text tool "T" in the left column and then drag a text box into which you can write your name. A comprehensive guide to the different tools and features of Photopea can be found here: https://www.photopea.com/learn/
Step 4
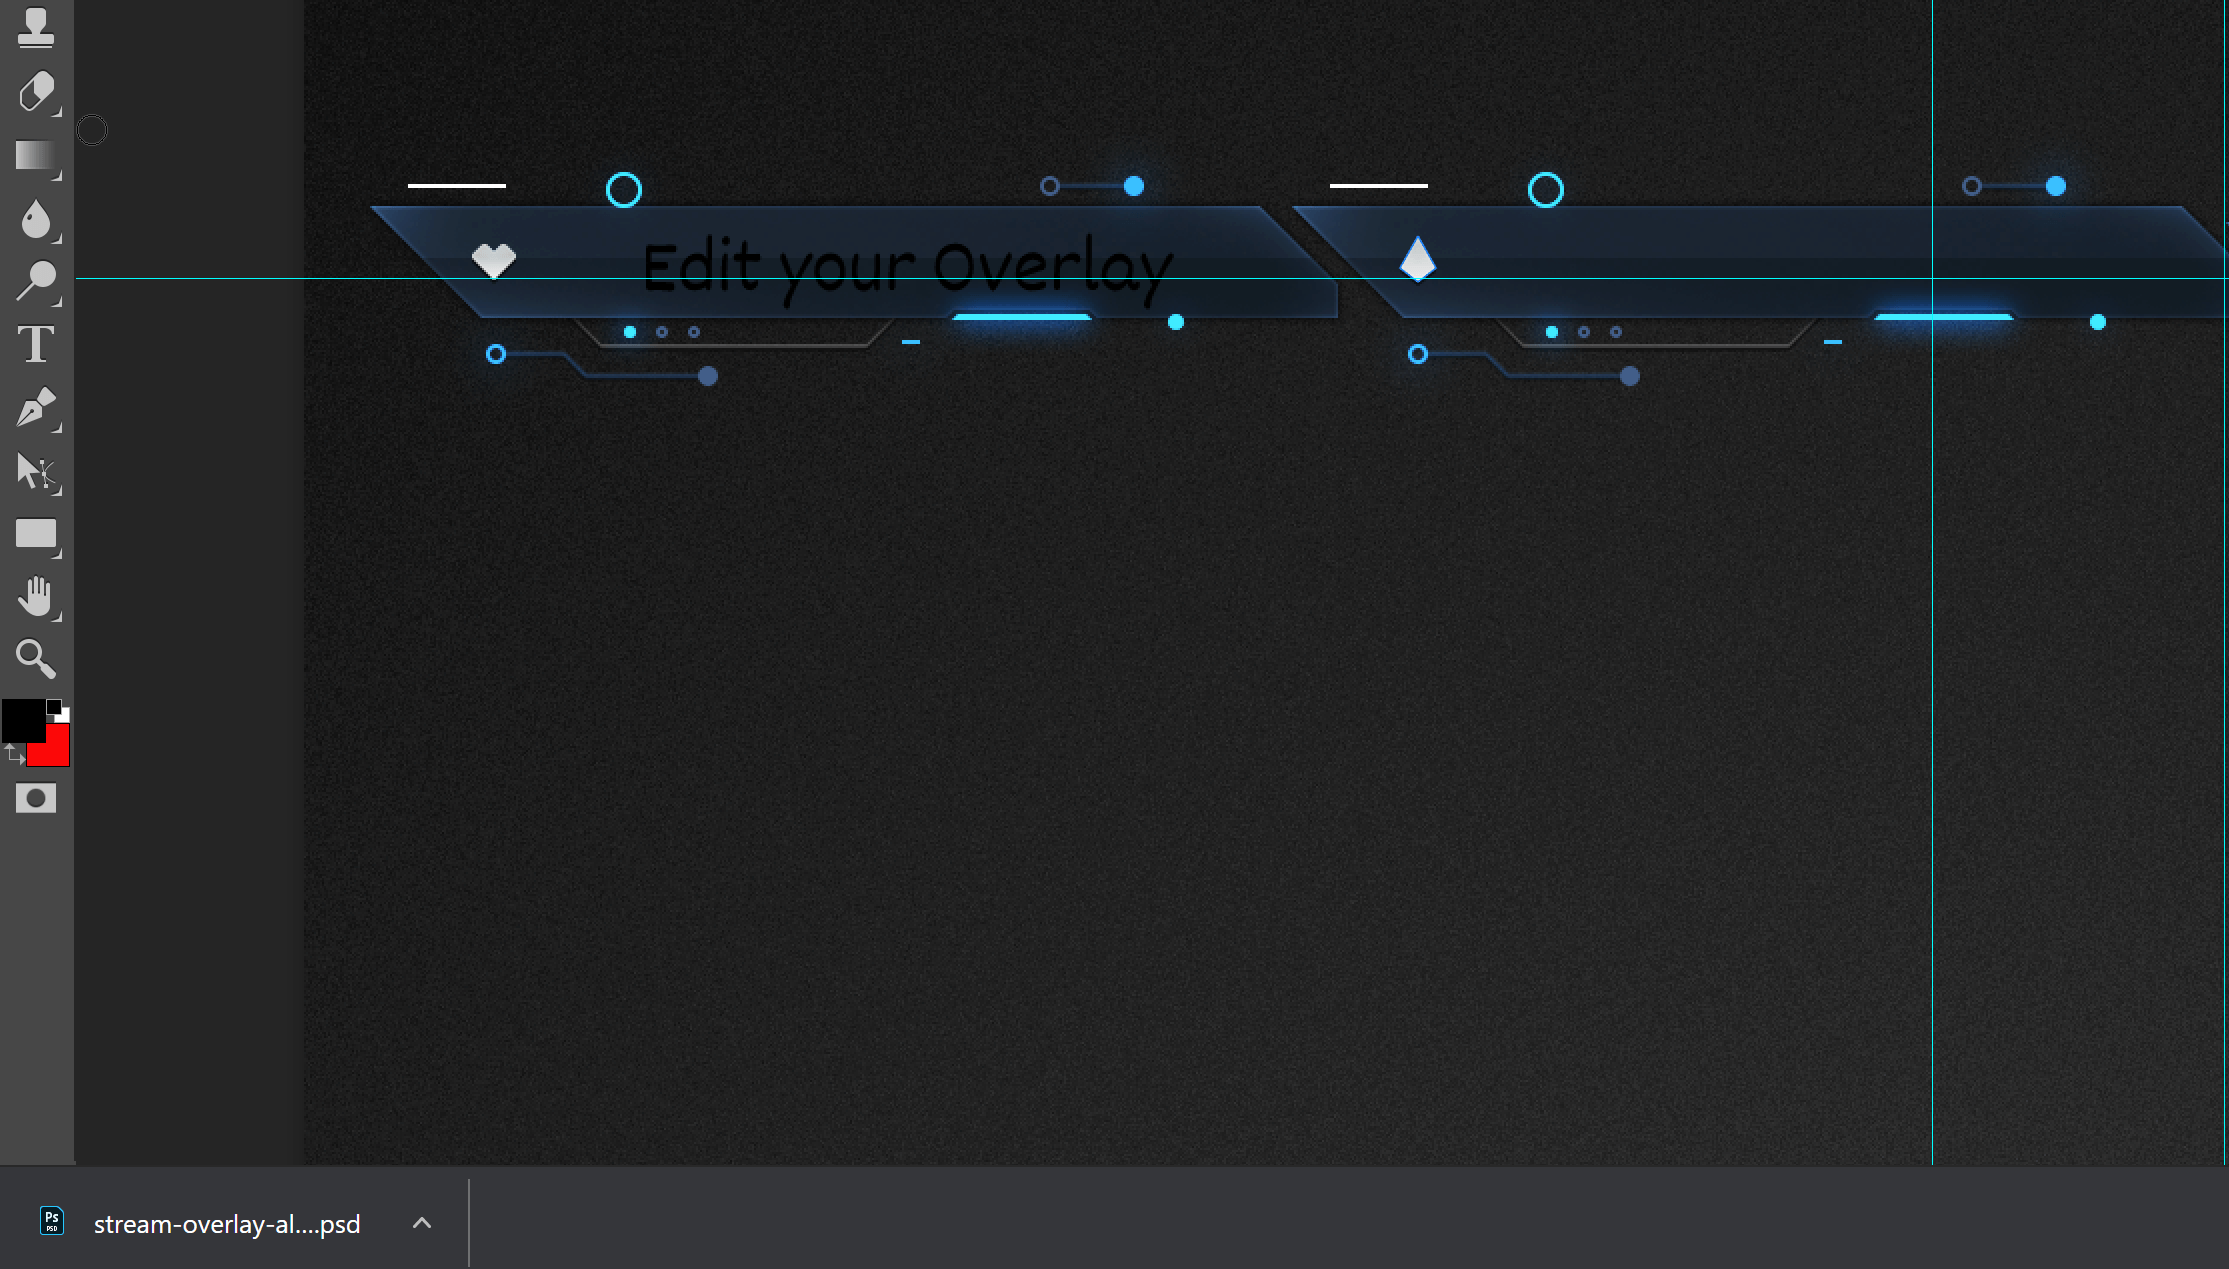
As soon as you have finished your changes, click again on "File" in the upper left corner and then on "Save".
Step 5
Your adapted overlay will be downloaded and can be used as usual.
Important info:
Photopea only works with our static PSD files and is not suitable for all our designs, as it sometimes causes display errors. If you experience such an error, please contact our support.
Conclusion
Editing our overlays and making small changes is not that difficult and with the help of the free online photo editor "Photopea" relatively easy. We hope that we could help you with this little guide and wish you a lot of fun with streaming!


Comments
0 comments
Article is closed for comments.