Introduction
Since the beginning of 2017, Nintendo has been delighting the masses with the Nintendo Switch. The Nintendo Switch brings everything a gamer needs to game or stream for hours. Mario, Peach, Donkey Kong, Link, Luigi and many more await you in new adventures. But with the Switch, games like FIFA, Assassins Creed or Fortnite can enter the Nintendo universe for the first time. A lot of content that offers potential for streaming.
You have recognized exactly that and want to share your gameplay with your community? You want to stream Animal Crossing, Mario Kart or Zelda with your Nintendo Switch? Then you've come to the right place! We'll tell you how you can stream with your Nintendo Switch and what you need for it. And because the process varies a bit from platform to platform, we've created separate instructions for Twitch, YouTube and Facebook. Welcome to the world of Nintendo Switch Streaming!
Nintendo Switch streaming - Requirements
In order to stream with your Nintendo Switch, you have to meet a few requirements. First of all, you must own the console. Okay, jokes aside. We have summarized in detail what you need to show your gameplay on Twitch, YouTube, Facebook and co.
Hardware
It is important to mention that streaming only works with a Nintendo Switch. With a Switch Lite this is unfortunately not possible. Furthermore, streaming directly from the Switch is not possible, as you know it from PlayStation or Xbox.
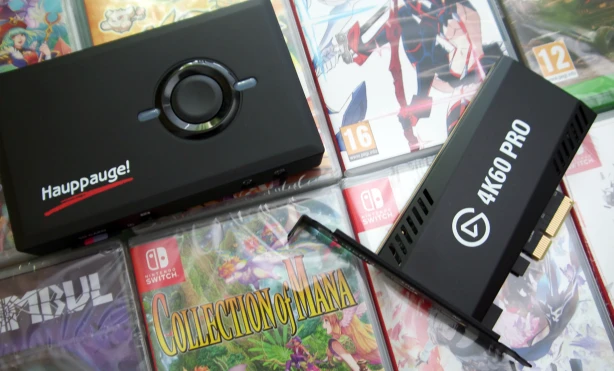
So, the first thing you need is a capture card. We can recommend those from Elgato, Razer and the cheaper ones from AverMedia. You will also need the Nintendo Switch Dock, a computer with a monitor, an Internet connection with at least 6 Mbps upload, a TV or monitor on which you will play, and two HDMI cables.
So that your viewers can see and hear you later, you also need a webcam and a microphone. For a start, we recommend the Logitech HD Pro Webcam C920 and the Auna Mic 900B.
You don't need more hardware to start streaming. Once you've been streaming for a while, you can add extras like lighting or a green screen.
Hardware installation
If you have the necessary hardware, the next step is to connect the components together.
-
First you put your Switch into the docking station and remove the joy-cons.
-
Plug the first HDMI cable into the Nintendo Switch Dock and the other one into the input of your capture card. The second HDMI cable connects the output of the capture card to the screen on which you want to play.
-
Then connect the USB cable of your capture card to your PC so that the image and sound of your Switch can be transferred to it.
-
Connect your webcam and microphone to your PC. Both will later be added to the gameplay via your streaming software before you stream everything together on Twitch, YouTube or Facebook.
Software
If you have properly connected the individual hardware components, the next step is to install broadcasting software. To stream, no matter what streaming service you use, you need a so-called broadcaster software. It encodes picture and sound so that it can be streamed.
In the meantime, you are spoilt for choice when it comes to the right broadcasting software. As an example, we will mention OBS Studio in the Nintendo Switch Streaming Guide. The freeware is very popular and is considered the number 1 of broadcaster software. But there are also XSplit, Twitch Studio, Filmora Wondershare, Streamlabs OBS, Lightstream Studio and many more. Check them all out and find out which broadcaster software suits you best.
OBS Studio Setup:
We'll show you how to get your Nintendo Switch stream running and what settings are required using OBS Studio. Step-by-step setup of OBS Studio is a breeze.
-
First, download OBS Studio from the official website: https://obsproject.com
-
Then you install it on your PC.
-
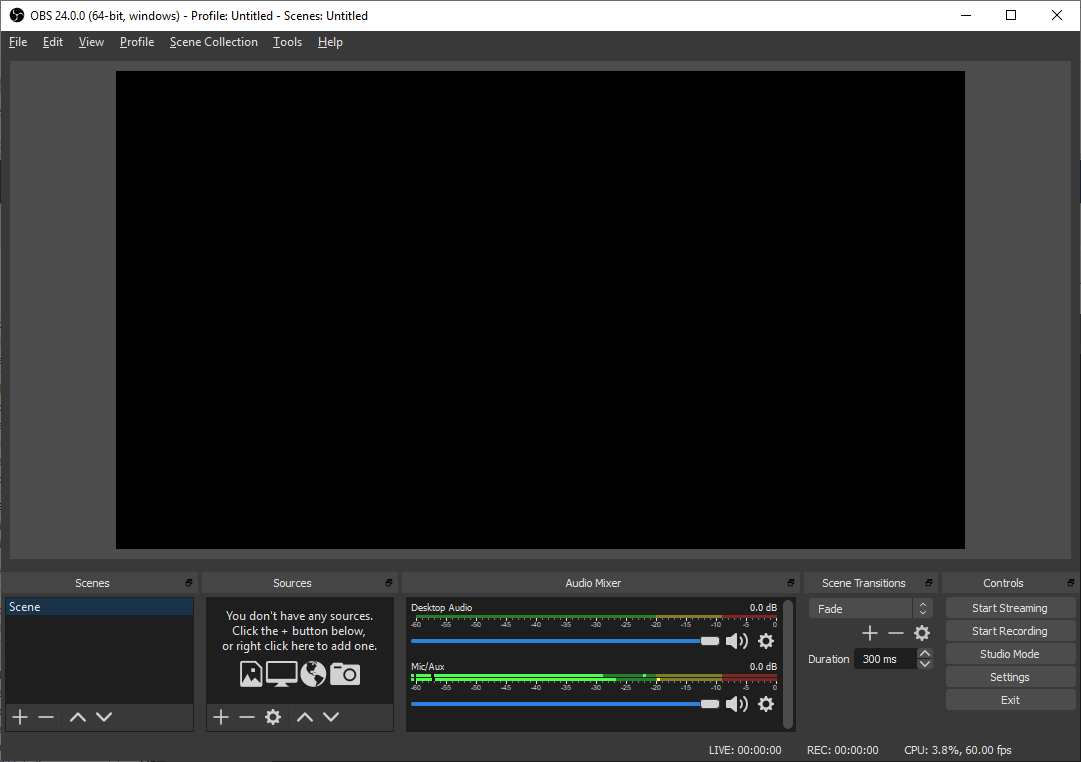
Once you have done that, start OBS Studio. At the top you will see a black picture, below that you can see the "Scenes", "Sources", "Audio Mixer", "Scene Transitions" and "Control" sections. To get started, you only need to focus on the front two areas and the last one.
-
Now go to "Settings" in the "Controls" section and select the menu item "Stream". There you can select "Platform" and choose Twitch, YouTube or Facebook, depending on where you want to stream.
-
Insert the stream key of the streaming service of your choice below. Now you can start the stream. Now all you need to do is feed the sound and image from the Switch, webcam and microphone into OBS, so that something is also visible on Twitch and Co. when you go live.
-
Now close the settings mask again and add your capture card to the scene in the "Source" section (which is currently still black). To do so, click on the "+" and select "Video capture device". Normally OBS detects it automatically and displays it under "Device". If this is not the case, simply select it from the drop-down menu. All other settings can also be applied as OBS expects them to be. Close the window.
-
Start your Nintendo Switch so that you have a picture in OBS.
-
Now you have to integrate your microphone and webcam into OBS. To do this, add a source in the case of your webcam. This time it's also called a "video capture device" because the webcam has a similar function to the Capture Card: it sends frames to OBS.
-
As for the microphone, it is already connected to OBS or should be. In the middle area next to the sources you will find the "Audio Mixer". The second track represents your microphone. If you see a ripple there while you are speaking, your microphone is connected correctly. If you don't see anything there, go to the gear wheel next to the track and then select your microphone.
-
After you have adjusted the webcam and capture card windows, you are ready to start. To do this, go to the "Control" section and click on "Start Stream".
One more small hint: If the picture of the switch is not displayed in OBS Studio, change the resolution type "FPS" to "Custom". Set the resolution to 1080p and the framerate to 60.
How to stream Nintendo Switch on Twitch
If you decide to broadcast your Nintendo Switch Stream on Twitch, proceed as follows:
-
If you don't have an account on Twitch, register first. You can do this in the top right corner of the page when you visit Twitch.tv.
-
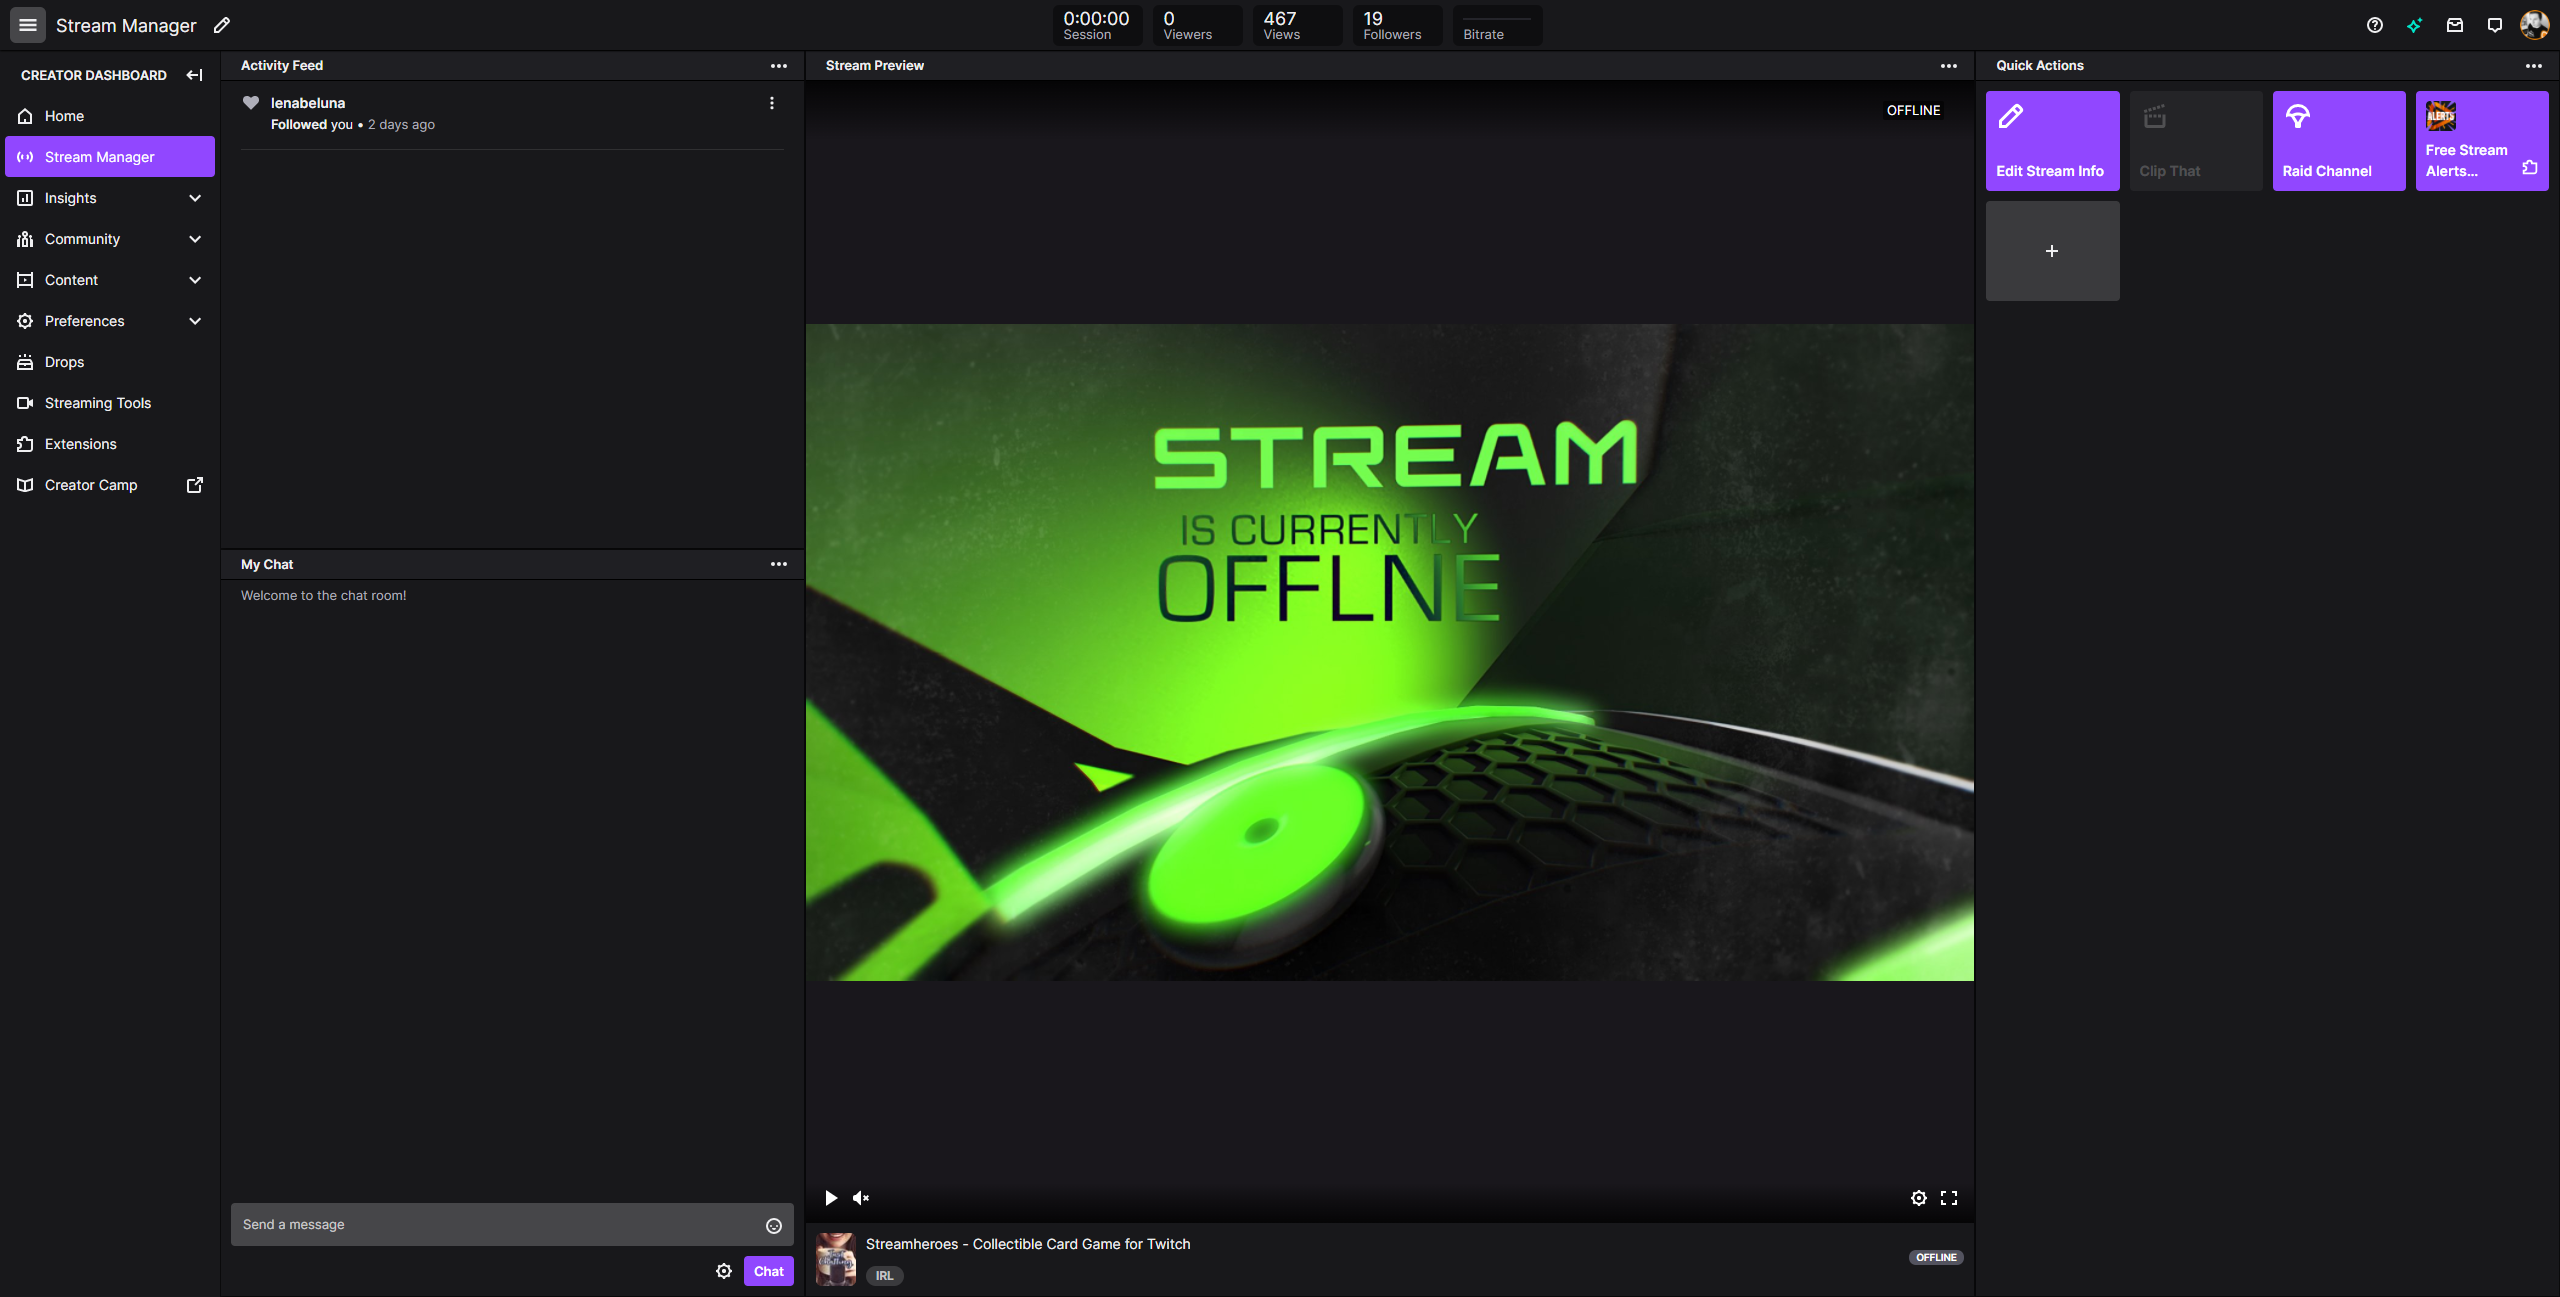
Once you have confirmed your account, you can go to the "Creator Dashboard" by clicking on your profile picture. There you can find your primary stream key for OBS Studio under "Settings". Paste it into the broadcaster software as described in the previous chapter under 4. and 5.
-
Once you have installed your hardware and connected to OBS, you can start your stream from OBS Studio.
-
You can view the chat and other stream data in the Twitch Dashboard. Use your PC monitor or your cell phone for this.
Nintendo Switch stream to YouTube
If you decide to broadcast your Nintendo Switch Stream on YouTube, proceed as follows:
-
You also need an account on YouTube. Unlike Twitch, however, you do not create a streaming service account only, but a Google account that is used for all services of the search engine giant.
-
If you have logged into YouTube after registration, go to the camera icon with the + in the upper right corner and select "Start Livestream".
-
Attention: If you have just registered on YouTube, you have to verify your account with your phone number and wait up to 24 hours before you can start your first Nintendo Switch Stream.
-
If the cool down has expired, an input mask will appear after clicking on "Start Livestream". There you can enter all relevant information like title, description, game and thumbnail. Without the latter, only a still image from your current stream will be shown as a preview. Since this is not very impressive, you should have prepared a thumbnail in any case.
-
Next, you will be shown your stream key, which you need to enter into OBS as described in the chapter "Setting up OBS Studio" under 4. and 5. There you will also find a description of how to add a webcam, capture card and microphone to OBS.
-
Now you can start your stream via OBS Studio. Unless you have selected "Private" in the stream settings on YouTube, your Nintendo Switch Stream will be online immediately.
How to stream Nintendo Switch on Facebook
If you decide to broadcast your Nintendo Switch Stream on Facebook, follow these steps:
-
First you go to Facebook Gaming and log in with your normal FB account. If you don't have one yet, register first.
-
Now you have to create a Facebook page. To do this, simply go to "Let's go", which is kind of the opposite of creating a Facebook page when you come to Facebook Gaming.
-
The first step is to create a page for gaming video creators. Follow the link under "Create your page". Then fill out everything you need and click "Next" to go to step 2.
-
This will tell you to choose an encoder software. Once you have done this, apply the settings specified by Facebook in the software. How to do this exactly is described there. Otherwise, we have written a step-by-step guide under "Set up OBS" that shows you how to set up the most popular encoder software for your Nintendo Switch Stream.
-
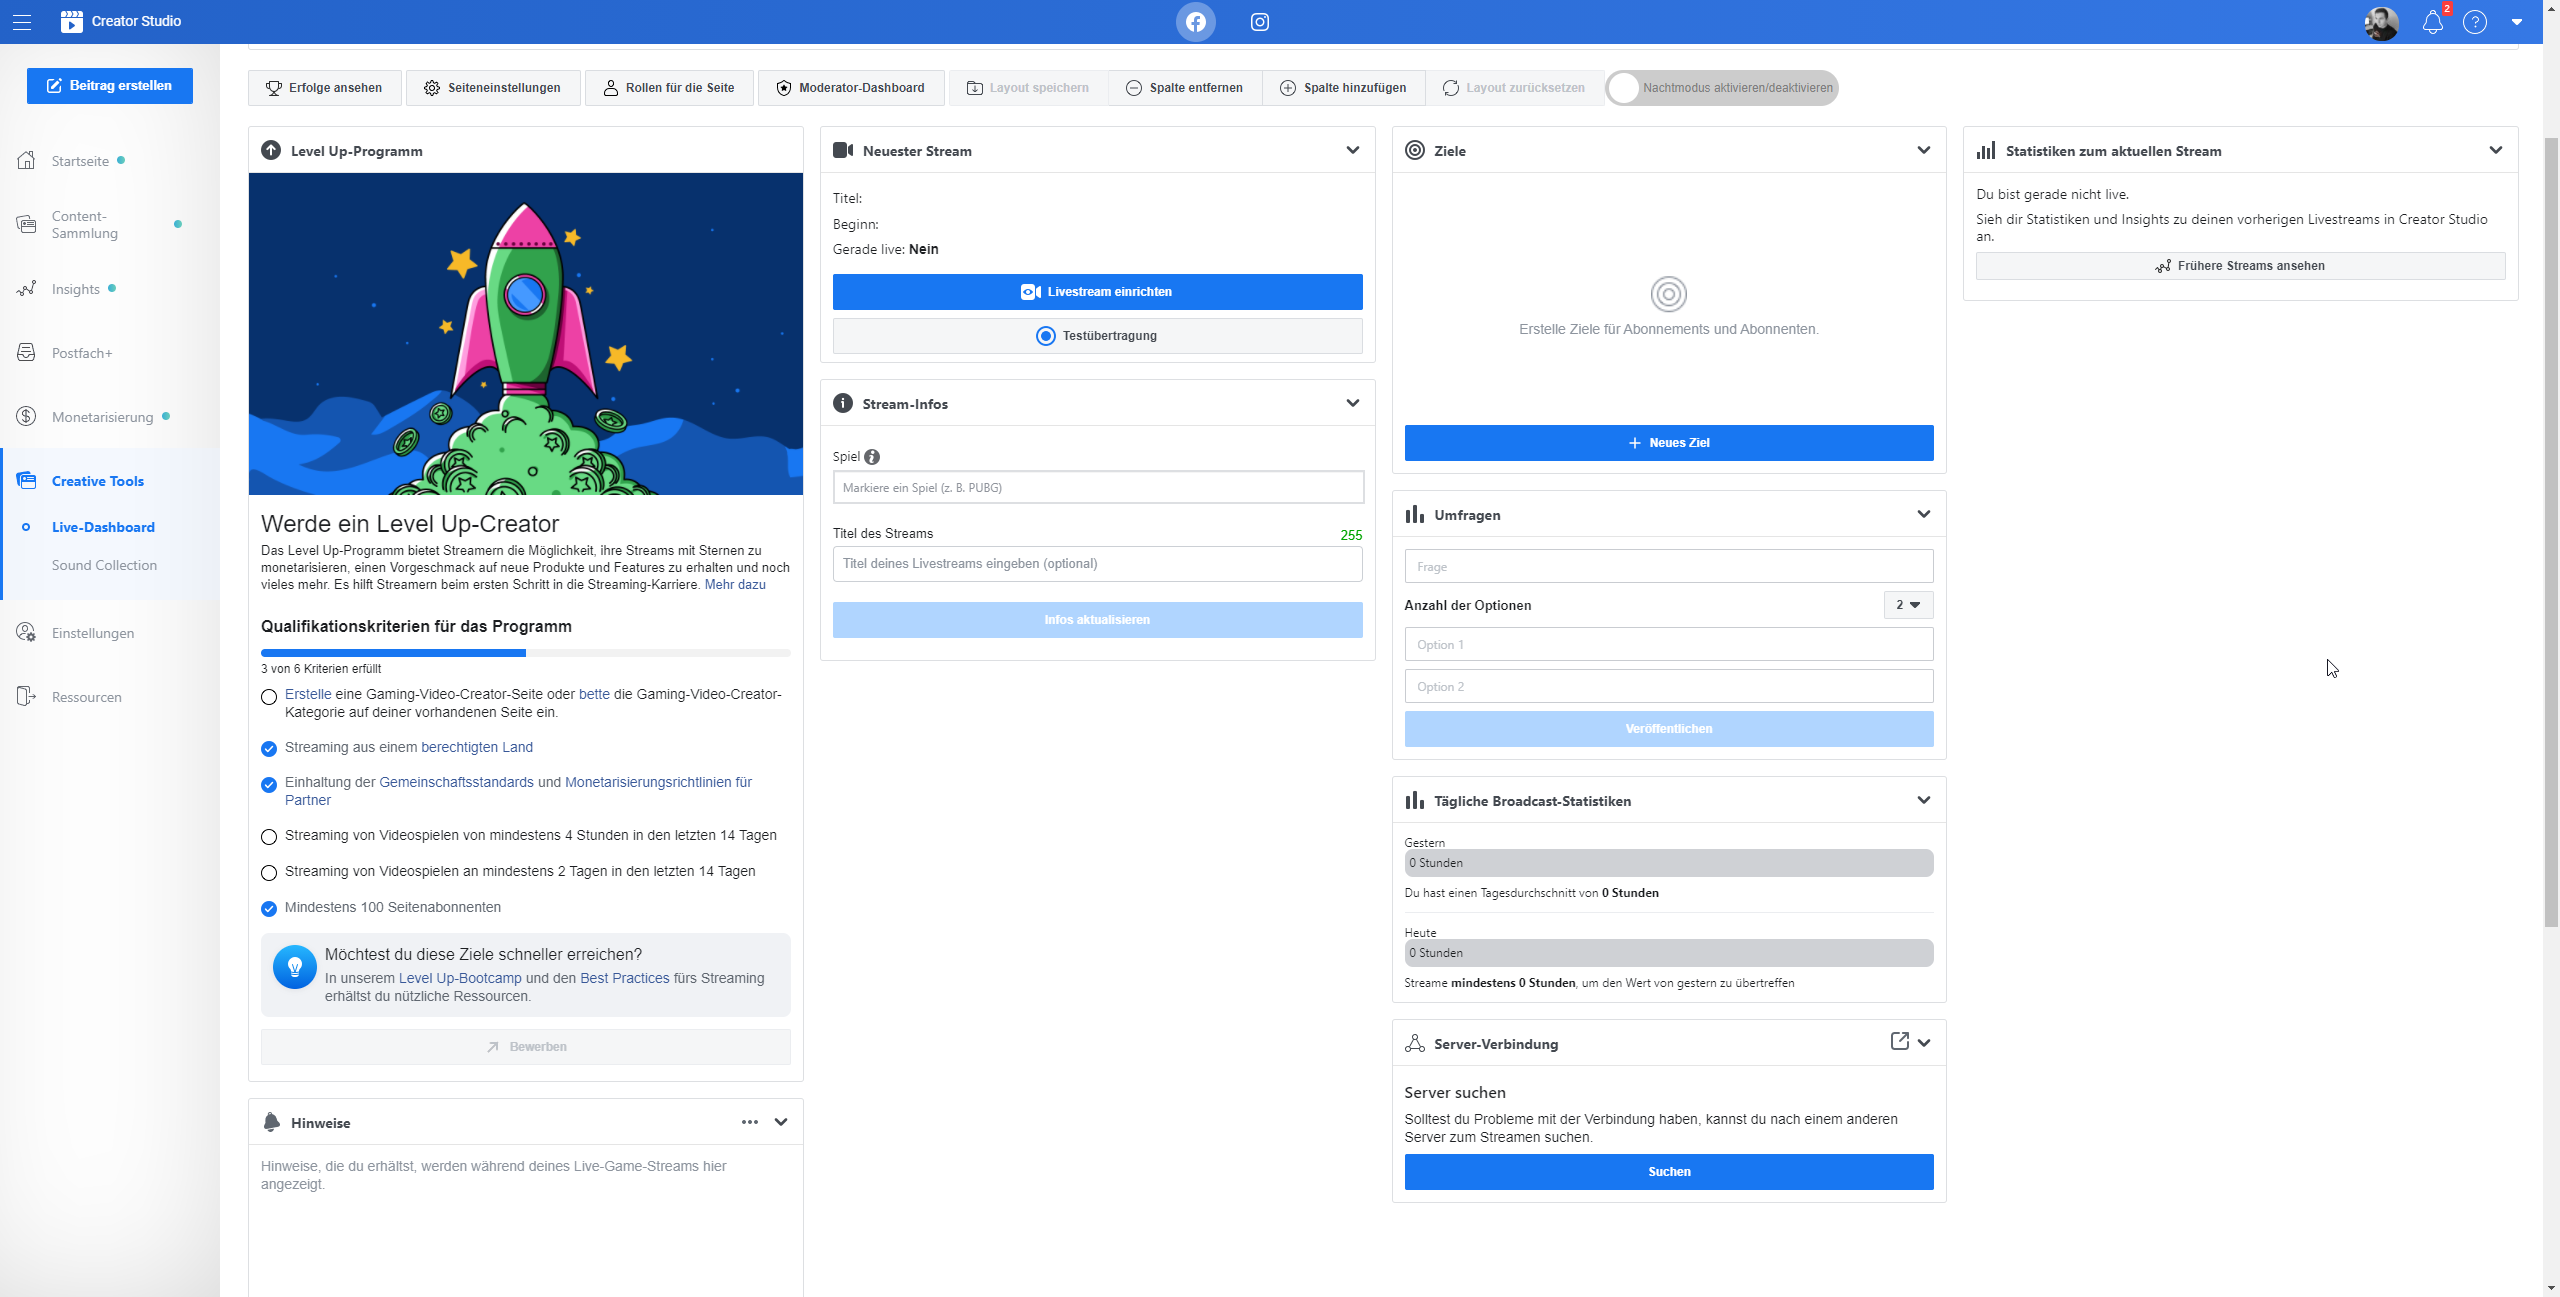
Now go to fb.gg/streamer. Here you will find your dashboard where you can enter metadata, use tools and view statistics.
-
Click on "Set up livestream". There you will also see the stream key. Insert the stream key in the appropriate place in your broadcaster software, as described in "Setting up OBS".
-
Now you only need to start the stream in your broadcaster software and you are live on Facebook with your Nintendo Switch Stream.
For each additional stream, go to "Videos" on your Facebook page and then to "To Creator Studio".
Improve your Nintendo Switch Stream quality
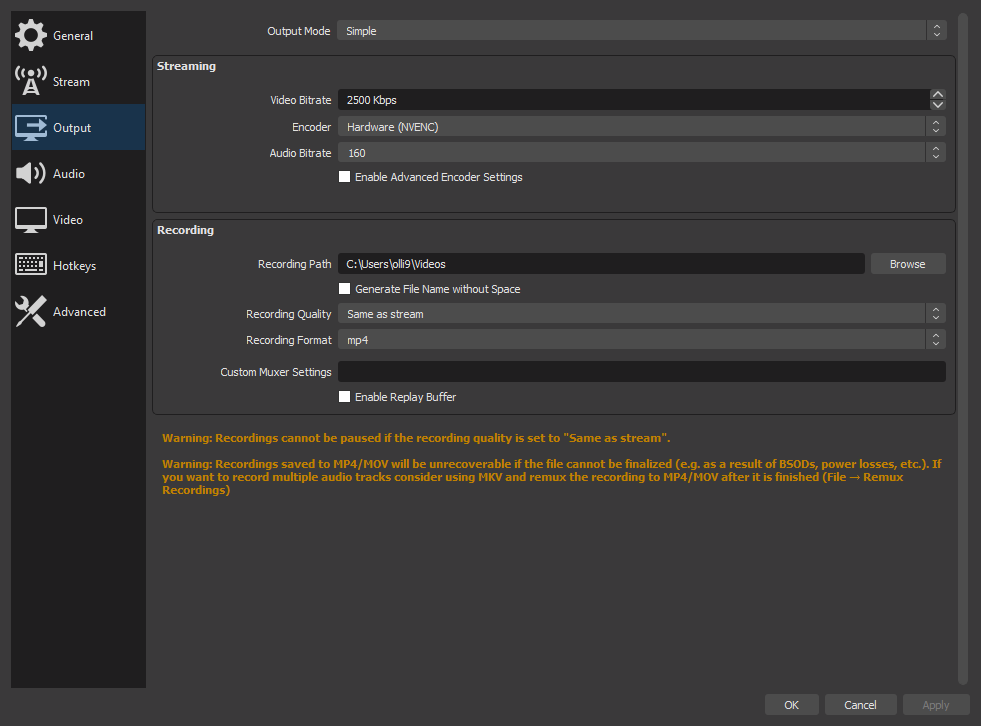
The easiest way to improve your stream is to change the settings in your encoder software. In OBS Studio you do this by going to the "Control" section, selecting "Settings" and selecting "Output".
Under "Video Bitrate" you can - depending on the upload rate of your internet line - use more than the default 2,500 kbits/s. For example, Twitch recommends 4,500 kbits/s at a resolution of 720p and 60fps. First of all, you should make sure that your internet connection has enough upload speed and that your CPU or GPU can handle it. If this is not the case, it will come to jerks. You should also only use half of your upload volume at a time to avoid fluctuations in the network.
You can also improve the quality of your stream in other ways. For this purpose, it is best to select "Full power" in the "Encoder presets". But keep in mind that this often doesn't make sense because Twitch, YouTube and Facebook don't allow beginners to stream at more than 720p at 60fps. To increase your streaming quality, you have to stream for a longer time. With Twitch, for example, you will reach affiliate status after a while. This allows you to stream at 1080p as well.
How to stream Nintendo Switch - FAQ
Can you stream on Twitch with a Nintendo Switch?
Not directly, but with a capture card and encoder software you can stream your gameplay from the Nintendo Switch to Twitch.
Can you stream Nintendo Switch without a capture card?
This is unfortunately not possible. The Nintendo Switch does not come with its own software that allows you to stream directly to Twitch and Co. For this you need a capture card.
Can I stream Nintendo Switch on Discord?
This is currently not yet possible. The reason is the automatic detection of Discord when you play a game to start a stream there.
Since you would have to send your gameplay from the Nintendo Switch to your PC via a capture card, Discord is not able to recognize it as a game.
How to make Nintendo Switch streaming less laggy?
If your Nintendo Switch Stream lags, check the settings in your broadcaster software. Often it is due to video bitrate and other encoder presets.
Also, your CPU and GPU may not be able to deliver the performance you set. Reduce the video bitrate in the settings to relieve both.



Comments
0 comments
Article is closed for comments.